
托卡马克之冠:如何评价赫鲁晓夫楼?
ZhihuID:55833560477
ZhihuID:55833560477
是啊,苏联那可太英雄了,这从苏联领导人对付自己政敌的手法上就可以看出来。要提苏联的英雄气,那就不得不说一件在国内相对冷门的事,三场莫斯科审判。三场莫斯科审...
一部极具层次感的作品

记录一下这次春节期间经历的趣事,以及挣扎的心理活动
白驹飞驰,青春过隙

一个白痴(idiot)还会有本我(id)吗?
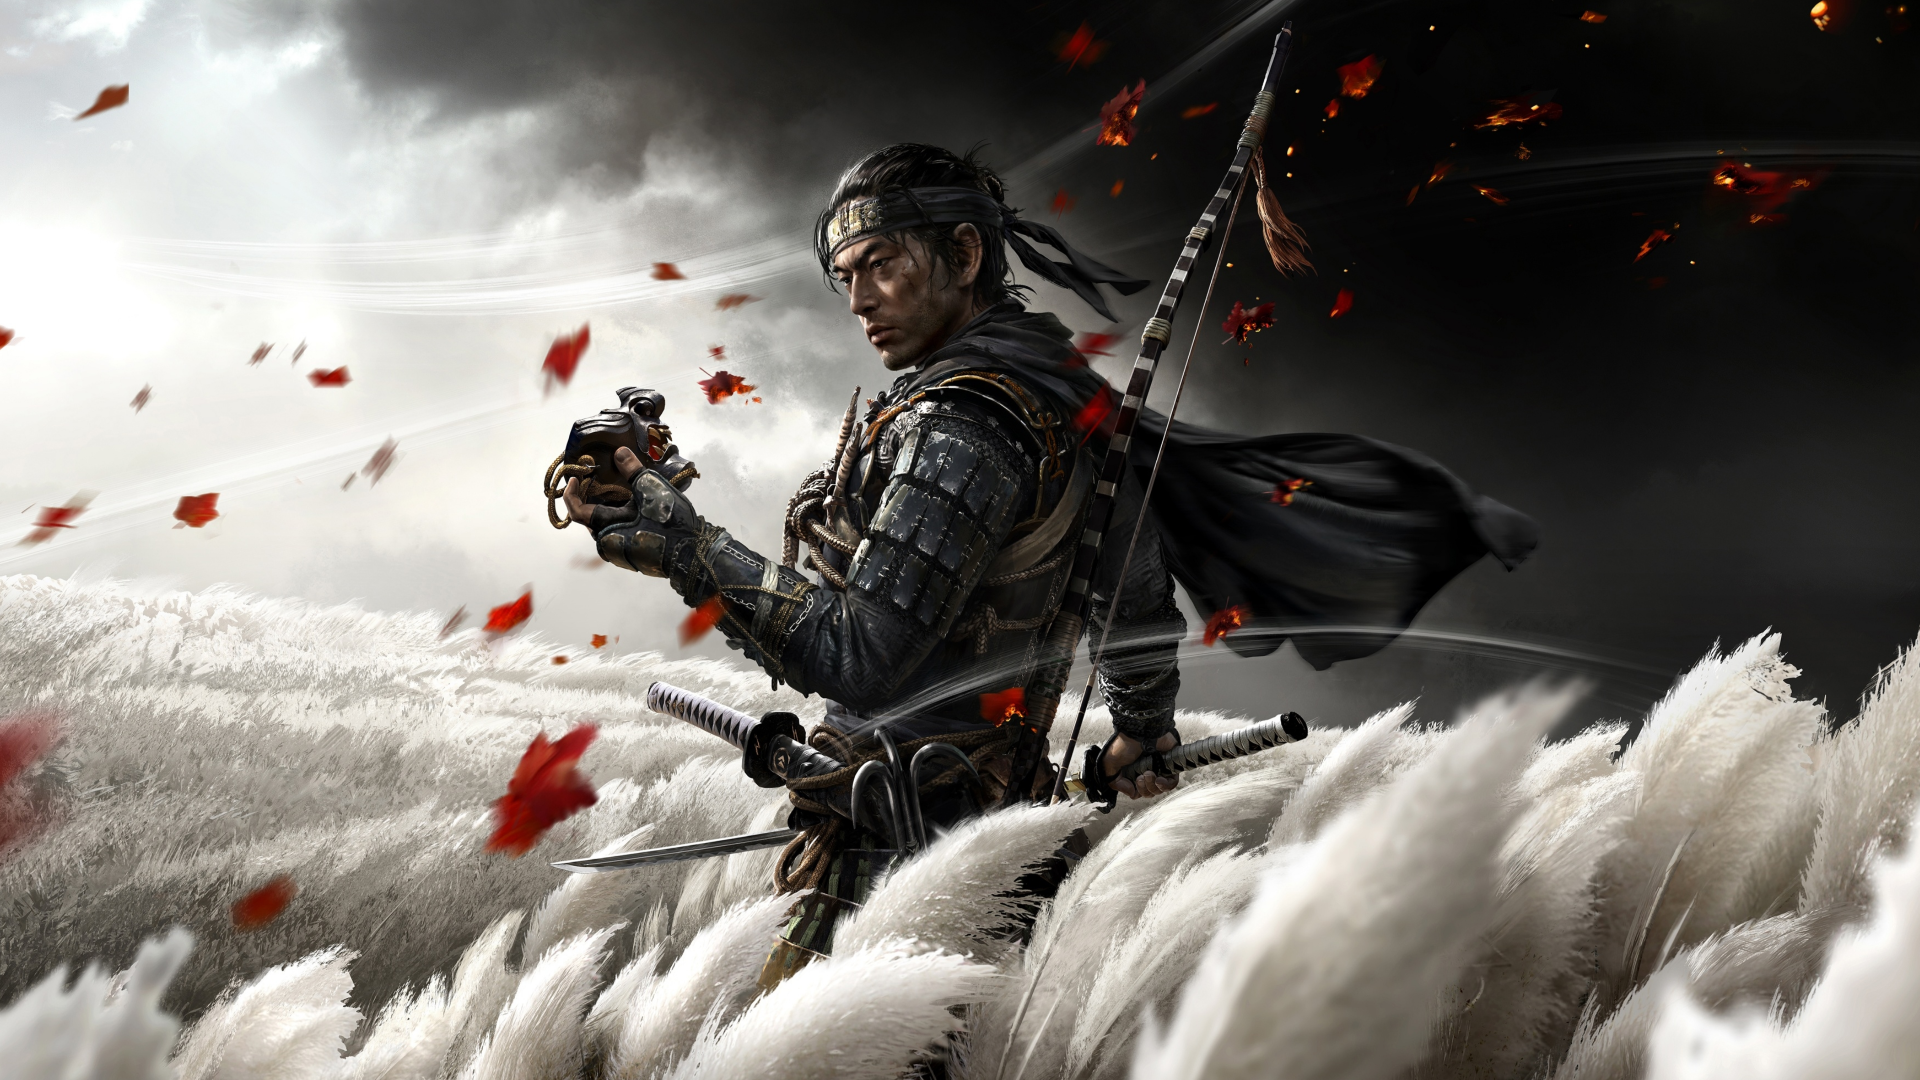
“山河壮美,剑戟浪漫”

“我心里是汤浅比吕美,但是见到石动乃绘,我心中就会动摇。”
关于游玩后的一些感想
后400句单词句子